A used camera body is not simply a cheaper version of a new one. It is a particular working object with an unknown history, a finite return period and, often, a different bundle of accessories from the one shown in the original launch material.
That does not make used gear a bad bet. It can be the sensible way to buy a more capable camera, keep an existing lens system useful, or avoid paying for features you will not use. But the saving only has value if the body works reliably for your kind of photography and if you have a realistic route back to the seller when it does not.
Treat the return window as a functional inspection period, not as time to admire the purchase on a shelf. Your aim is not to prove that the camera is perfect or to predict its entire remaining life. It is to establish whether this specific body matches the listing, performs its essential jobs consistently and has faults serious enough to return, negotiate or document before the deadline.
Start with the sale, not the camera
Before taking test photographs, save a copy of the listing, its photographs, the invoice and the return and warranty terms. Those documents define the comparison you will need if a dispute arises.
Write down:
- the exact model, colour and serial number;
- the stated cosmetic and functional condition;
- every item said to be included;
- the date and time by which a return must be initiated;
- who pays return shipping, if relevant;
- exclusions, restocking charges and any requirement to retain packaging;
- the warranty period, its claim process and what it excludes.
Do not assume that a seller’s general inspection statement settles the condition of your unit. A retailer may say it assesses used equipment before sale, but its process is still a promise to examine closely rather than proof that every intermittent fault has been eliminated.
For example, Austrian retailer Camera Market says that its pre-owned cameras undergo a 28-point inspection including sensor integrity, autofocus, connectivity and firmware checks. It also says that cosmetic condition is documented in photographs of the actual unit and that a generic battery or charger may be included instead of the original accessory. Those are useful things for a buyer to ask of any listing, but they are retailer-specific claims, not an industry standard.
The practical question is simple: if the body does not work as described, can you show what was promised and return it without turning a modest saving into an expensive argument?
Inspect the unit a listing cannot fully describe
Begin before fitting a lens or inserting a card. Compare the serial number, model designation and visible condition with the listing. If the serial number is not shown in the listing, record it in your notes along with the date of delivery or inspection.
Cosmetic wear is not automatically a problem. A rubbed corner or a polished grip may merely show use. What matters is whether the wear points to a functional risk or conflicts with the advertised condition.
Look carefully at the following.
Body, doors and mounting points
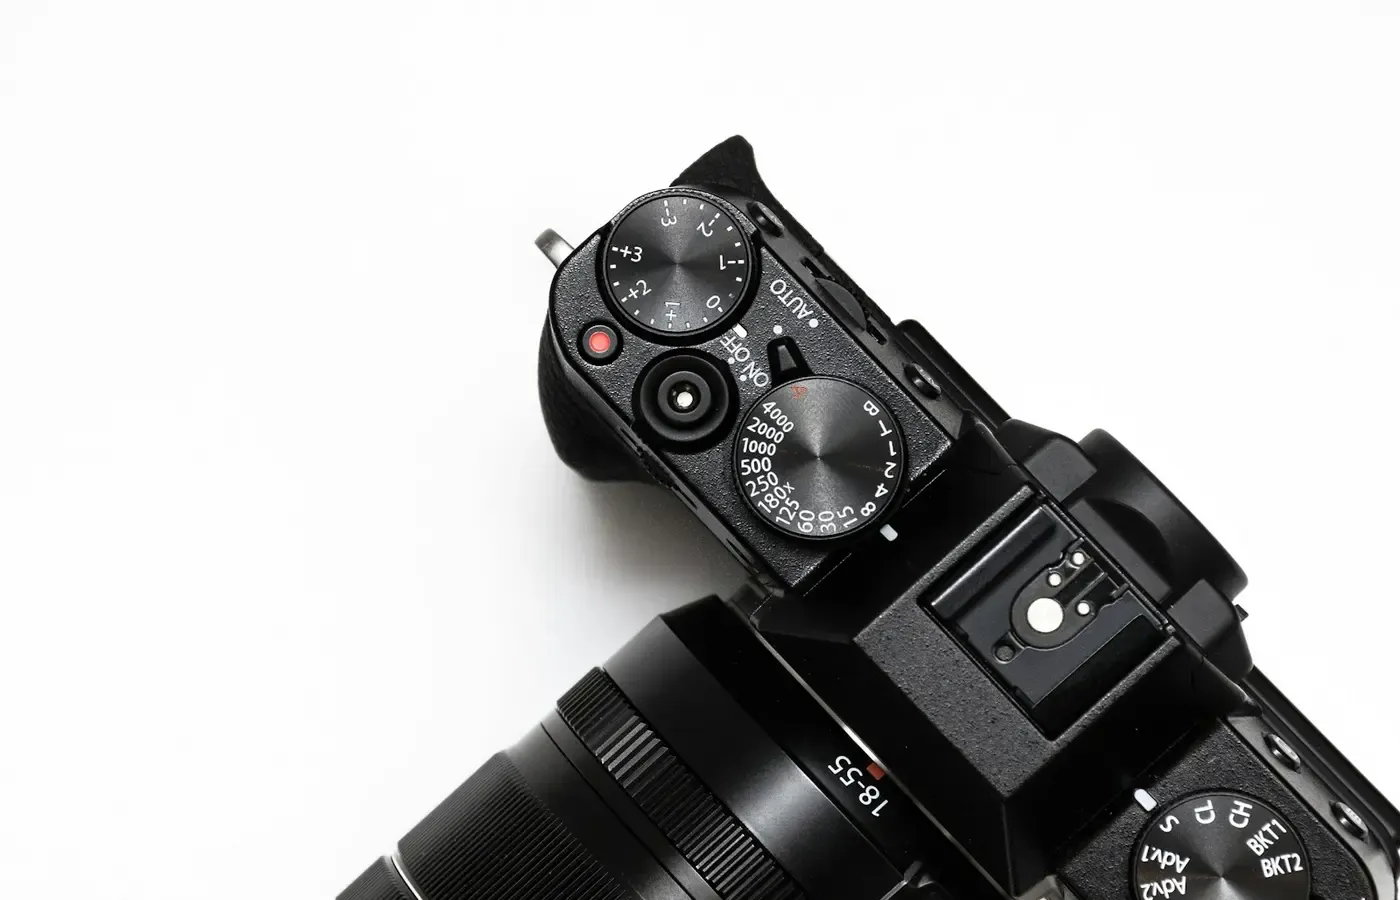
Examine seams, screws, rubber grips and the tripod socket. Missing screws, gaps in the casing, loose panels, corrosion or signs that a screw has been badly damaged deserve attention. None alone proves an internal problem, but they may justify asking the seller what work has been done or choosing not to keep the camera.
Open and close the battery door and card door several times. They should latch securely without force. Inspect their hinges and seals visually; do not attempt an improvised water-resistance test. Weather sealing, where a camera has it, is a system claim that cannot be confirmed by splashing a used body with water.
Inspect the lens mount for obvious damage, loose screws or excessive movement with a compatible lens attached. Use a lens you trust where possible. A bargain body tested only with an unfamiliar, questionable lens can create a misleading diagnosis.
Screen, viewfinder and hot shoe
Turn the screen on, adjust brightness if the menu allows it, and check for dead areas, flicker, erratic touch response or a hinge that feels loose on an articulated display. Look through the electronic or optical viewfinder in varied light. Check its dioptre adjustment and see whether the display responds normally as you switch between viewing modes.
Inspect the hot shoe for bent contacts, corrosion or a loose fit. If you depend on flash, a microphone, a viewfinder accessory or a radio trigger, test with the accessory you actually intend to use. The presence of a hot shoe does not prove that its contacts communicate correctly.
Sensor: inspect, but do not overreach
With the lens removed, inspect the sensor only in a clean, well-lit setting and avoid touching it. Look for obvious marks, scratches or debris. Then fit a known-good lens and make photographs that will reveal whether dust or marks appear in files.
A used-camera guide from RK Deals rightly treats sensor condition as a separate question from the model name. That distinction matters: two bodies of the same model can have very different histories.
A few dust spots may be removable through normal, model-specific cleaning procedures, but do not attempt cleaning unless you have the exact manufacturer guidance for that camera and are comfortable accepting the risk. A visible line, persistent patch or unexplained mark in images is a reason to pause and document the result, not to improvise a repair before contacting the seller.
Make test images that can expose real problems
A camera that turns on and takes one attractive image has passed only a very small test. Use the return period to make deliberately unglamorous files, then inspect them at full size on a larger screen if possible.
Start with still photographs of an evenly lit plain wall, clear sky or other featureless subject. Take several images at different apertures if your lens permits it. Review the files, not merely the rear display, for repeated dark spots, lines, bright pixels or odd colour patches. One test cannot establish long-term sensor health, but repeated symptoms are meaningful evidence.
Then test autofocus on subjects that suit the camera and lens. Use a stationary, detailed subject first. Move the focus point around the frame, focus at near and farther distances, and take repeated shots. If the body is intended for moving subjects, try a predictable moving target in good light and review a sequence rather than judging one lucky frame.
The important distinction is between a feature and a task. A menu item labelled continuous autofocus does not show that the camera can reliably follow the type of subject you photograph. Likewise, a focus miss may be caused by poor light, a difficult subject, a lens problem or operator error. Repeat the test under simpler conditions before deciding that the body is at fault.
Camera Market includes autofocus accuracy and sensor integrity in the checks it says it performs on pre-owned units. RK Deals’ broader guide also recommends evaluating the specific unit’s condition, functionality and accessories rather than assuming that a desirable model is automatically a good buy. Neither recommendation can certify the remaining life of a camera. They are reasons to test the functions you will actually rely on.
Do not make shutter count the whole verdict. It may be available for some cameras and workflows, but the supplied information does not establish that it is reported consistently across brands, comparable between models or a dependable prediction of remaining life. If a seller provides a figure, treat it as one piece of disclosed history, not a warranty.
Test the whole capture path
The shutter button is only the beginning of the route from scene to usable file. A camera can appear healthy until a card slot, dial, port or recording function is called upon.
Work through every control you use regularly: shutter release, power switch, exposure controls, command dials, directional controls, menu button, playback button, autofocus controls and any custom buttons that matter to you. Rotate dials slowly and repeatedly. Watch for missed inputs, jumps, sticky movement or controls that work only when pressed at a particular angle.
Then make a simple capture-path test:
- Insert a compatible card you trust.
- Take a sequence of stills.
- Review them in camera.
- Record a short video clip with sound if the model has video.
- Play back the clip on the camera.
- Transfer the files using the connection method you expect to use.
- Open the transferred files on another device.
This is more useful than observing a charging light or finding a port in a menu. A USB connection, wireless setting or HDMI socket can be present yet fail during the actual job you bought the camera to do.
Check the card slot without forcing a card or repeatedly stressing the door. Watch for write errors, failed playback, corrupted-looking files or a card that is not consistently recognised. Try a second compatible card if you have one before attributing a problem to the camera.
Where relevant, test microphone, headphone, HDMI, USB and remote connections with compatible equipment. Do not use excessive force, and do not assume an adapter makes every connection equivalent. Supported formats, power delivery and connection behaviour are model-specific; consult the manual for the exact body before treating a particular port as part of your required workflow.
Count battery condition and missing accessories in the real price
Battery life is difficult to judge from a few minutes at a kitchen table. A battery can charge, show a full icon and still decline unusually quickly in normal use. Run the camera through a meaningful session: screen use, viewfinder use, stills, video if relevant, playback and file transfer. Note unexpected shutdowns, charging failures or a percentage indicator that falls implausibly fast.
That exercise cannot give you a laboratory battery-health figure. It can tell you whether the supplied battery is immediately usable and whether you should budget for a replacement.
Inventory the box against the listing. A body cap, charger, battery, cable, strap, original box and manual are not equally important to every buyer, but their absence changes the total setup cost. A generic charger may be perfectly serviceable; an original one is not inherently required. What matters is compatible, safe operation and a price that reflects what is actually included.
Record the installed firmware version, but do not rush to update it before you have established that the body works as delivered. Firmware updates can be useful for model-specific fixes or compatibility, yet the proper procedure and risks depend on the manufacturer and model. Keep the pre-update version in your notes, consult the exact official instructions, and do not use an update as a way to conceal a problem that should be handled under the return process.
Some faults need more than a doorstep check
The defects most likely to escape a quick in-person inspection are often intermittent: a dial that occasionally skips, autofocus that becomes unreliable in a particular mode, overheating during a longer recording session, unstable wireless transfer, inconsistent card writing or a battery that collapses after a few cycles.
Prioritise extended testing according to the camera’s intended job. A stills-only travel camera deserves sustained tests of controls, card writing and battery behaviour. A body bought for video needs a longer recording and playback session. A camera intended for events or family use should prove that it can wake, focus, capture and save repeatedly without unexplained pauses.
Leave time before the deadline to contact the seller. If a fault appears, preserve the original files, take photographs or short video of the symptom where useful, and write down the settings, lens, card and circumstances. Keep packaging until the case is resolved.
A warranty and uncomplicated return process can justify paying more than an opaque private sale, but not at any fixed premium. The value depends on the discount, what the warranty actually covers and the difficulty of using it. Gadget CEO’s discussion of used-camera retailers makes the useful broader point: condition transparency, warranty and return process should be assessed alongside price, and a small gap to a new or manufacturer-refurbished alternative may make the safer option preferable.
That is not an argument against buying used. It is an argument for pricing risk honestly. If a seller offers only vague assurances, a short return period and no practical remedy, the apparent saving needs to be substantial enough to compensate for the work you may inherit.
A decision card before the deadline
Use your notes to make a deliberately plain decision.
| If your evidence shows… | Sensible next step |
|---|---|
| The unit matches the listing, files look normal, core functions work repeatedly and the included kit meets your needs | Keep it, retain sale records and note the warranty deadline. |
| A minor cosmetic difference or missing low-value item not disclosed clearly | Ask the seller to explain or negotiate only if the written listing supports your case. |
| An unexplained functional issue with focus, sensor output, recording, card writing, controls, charging or connection | Document it promptly and use the written return or warranty process. |
| You cannot test a function essential to your work before the deadline | Consider returning rather than assuming it will be fine later. |
| The purchase now requires costly accessories, replacement batteries or repairs that erase the saving | Compare the revised total with a better-equipped used, refurbished or new option. |
Do not rationalise a clear functional fault because the camera was inexpensive or hard to find. A used body is a good purchase when it gives you reliable access to the work you want to do, not when it merely looks like a bargain beside its original retail price.
Keeping your present body is also a valid result. So is buying a newer used unit from a seller with clearer terms, or waiting for a body whose condition and included accessories you can verify. The point of the return window is not to become suspicious of every mark. It is to give a particular camera the fair, practical inspection that its discount cannot perform for you.
Questions worth asking
What should I test first when buying a used camera body?
Confirm the exact model, serial number, listed condition, included accessories and return deadline. Then test basic operation, sensor output, autofocus, card writing, controls and battery charging with equipment you trust. Save sample files and notes while the return route is still open.
Can shutter count tell me whether a used camera is a good buy?
Not on its own. A seller-provided shutter figure may add context, but it does not replace testing the particular body. Its availability and meaning vary by model, and it cannot establish the condition of controls, sensor, battery, ports or electronics.
How do I check a used camera sensor for dust or damage?
Inspect it visually without touching it, then make photographs of an evenly lit plain subject and examine the files at full size. Repeated spots, lines or patches should be documented. Do not attempt sensor cleaning unless you have the exact manufacturer instructions and are confident in the procedure.
Is a used camera warranty worth paying extra for?
It may be, especially where faults could take time to appear, but read the coverage and claims process rather than treating the word “warranty” as a guarantee. Compare the total cost, return terms, exclusions and the price of a comparable refurbished or new camera.
Sources & methodology
This guide is a practical inspection framework, not a technical reliability study or a substitute for a model-specific manual. It draws on retailer guidance about the functions and terms buyers should inspect, while treating retailers’ inspection and warranty statements as claims about their own services.
- Camera Market’s Fujifilm XF10 used listing, for its stated inspection categories, actual-item photography practice, accessory caveat and six-month warranty claim.
- RK Deals: Buying a Used Camera in India?, for its checklist of physical condition, sensor, autofocus, battery, ports and recording functions.
- RK Deals: Used Camera Buying Guide, for its emphasis on evaluating the individual unit, accessories and total setup cost.
- Gadget CEO’s MPB review, for the risk-adjusted framing of condition transparency, warranty, return process and alternatives.
Before acting, check the actual seller’s current listing, invoice, return terms and warranty documentation. Consumer rights, shipping responsibility, restocking fees and warranty coverage vary by seller, sales channel and jurisdiction.